Tutorial: Digital Cut Paper from Scott E Franson on Vimeo.
This is a basic tutorial to create a cut paper effect using Adobe Photoshop and Illustrator.
I am sorry, The video ends abruptly. I am trying to work out the bugs in the process.
 I prefer to work in Adobe Photoshop in RGB Mode. RGB stands the primary colors of light which are Red, Green and Blue. When a book is printed the color mode that is used is CMYK. CMYK stands for Cyan, Magenta, Yellow and Key Color (which is Black). It is also referred to as process color. Process color cannot reproduce all of the colors of RGB. If I am not careful I can find that I have use colors that are outside of the CMYK gamut and will not print well. Here is a tutorial that can help by creating a RGB color pallet that is CMYK safe.
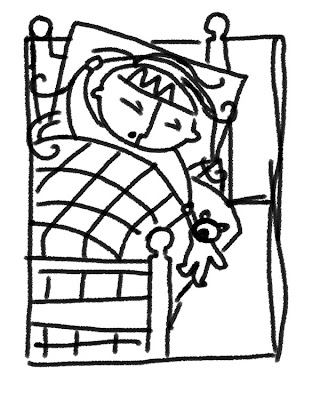 Line Drawing
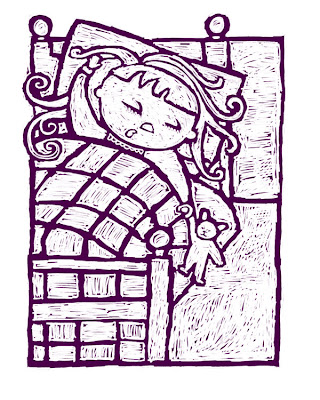 Define the Shapes
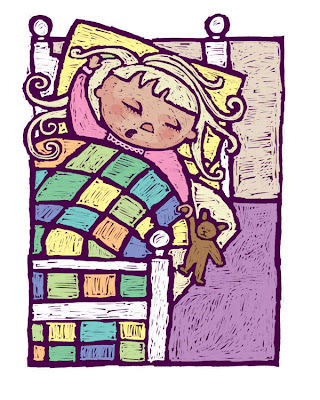 Basic fast color fill
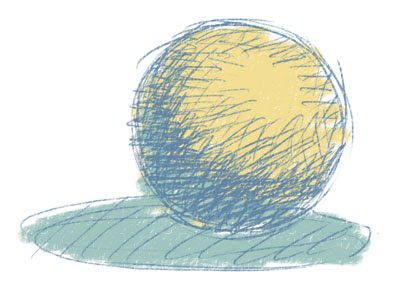
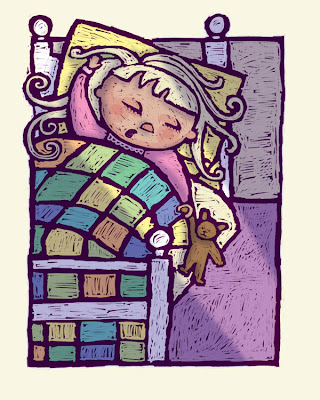 Basic Shadow
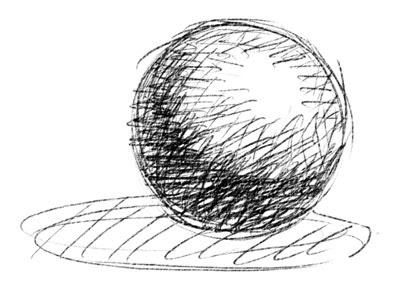 Scan in a grayscale drawing and adjust levels as desired. Select All and Copy the image.
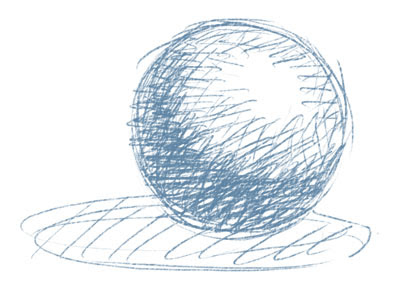 Choose a color other than black. Option + delete (on a Mac) will fill the selection with the foreground color.
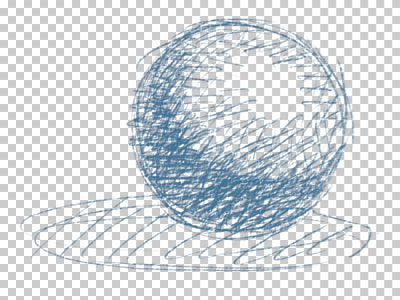 Hide the Background layer and you will see that the elements that were white in your scan will be transparent.
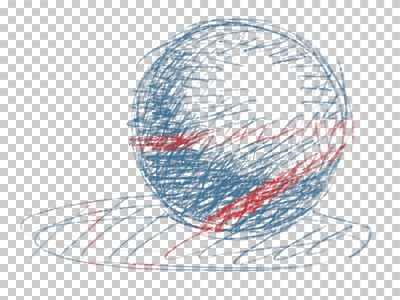 At this point I lock the transparency on the line layer. This allows me to paint the line any color I would like with a basic paint brush (the red in the above image is an example of painting with a basic brush with the transparency locked).
 Painting on the background layer will look like this.
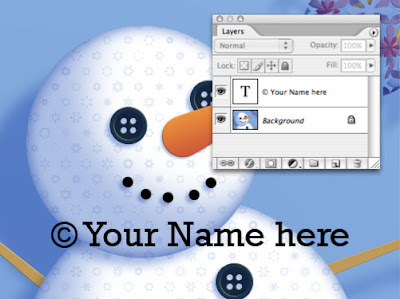 Step 1: Create 2 layers in Adobe Photoshop. One with your image and one with the desired watermark in black.
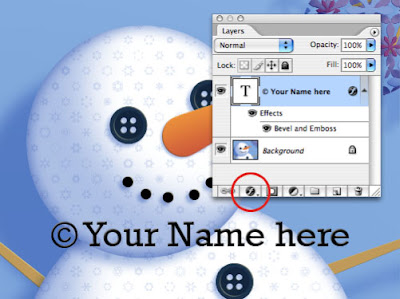 Step 2: On the layers palette click the effects button at the bottom and select Bevel and Emboss from the pop up menu.
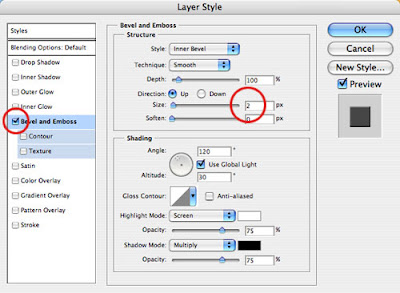 Step 3: Change the size to 2 px (this is for a 72 ppi image)
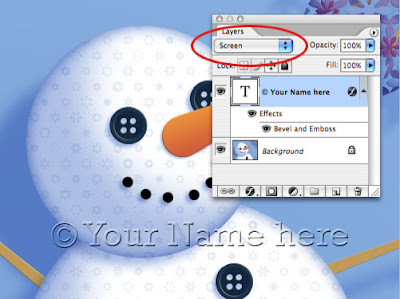 Step 4: Change the layer mode to Screen. Save for web and you are ready to upload your image to the web.
 This brush stroke is made with the Hard-Round 19 pixles brush.
 This texture is scanned from a board that I textured with gesso. When the gesso dried, I painted over the complete surface with a thin acrylic wash of black. The paint settled into the low areas of the gesso. (The boards that I paint on are 8.5 x 11 so that they will lay flat on my scanner. The textures are scanned at 300ppi)
 This brush stroke is made with the same Hard-Round 19 pixels brush, with the following changes in the brushes palette. I selected texture, selected the new texture from the patterns palette and changed the brush mode to Multiply.
 This brush stroke (red) is made with the same Hard-Round 19 pixels brush, with the mode changed to Subtract. Notice that it is a is opposite.

